Time Lapse in Folkestone
Fashion Lapse - Part 3
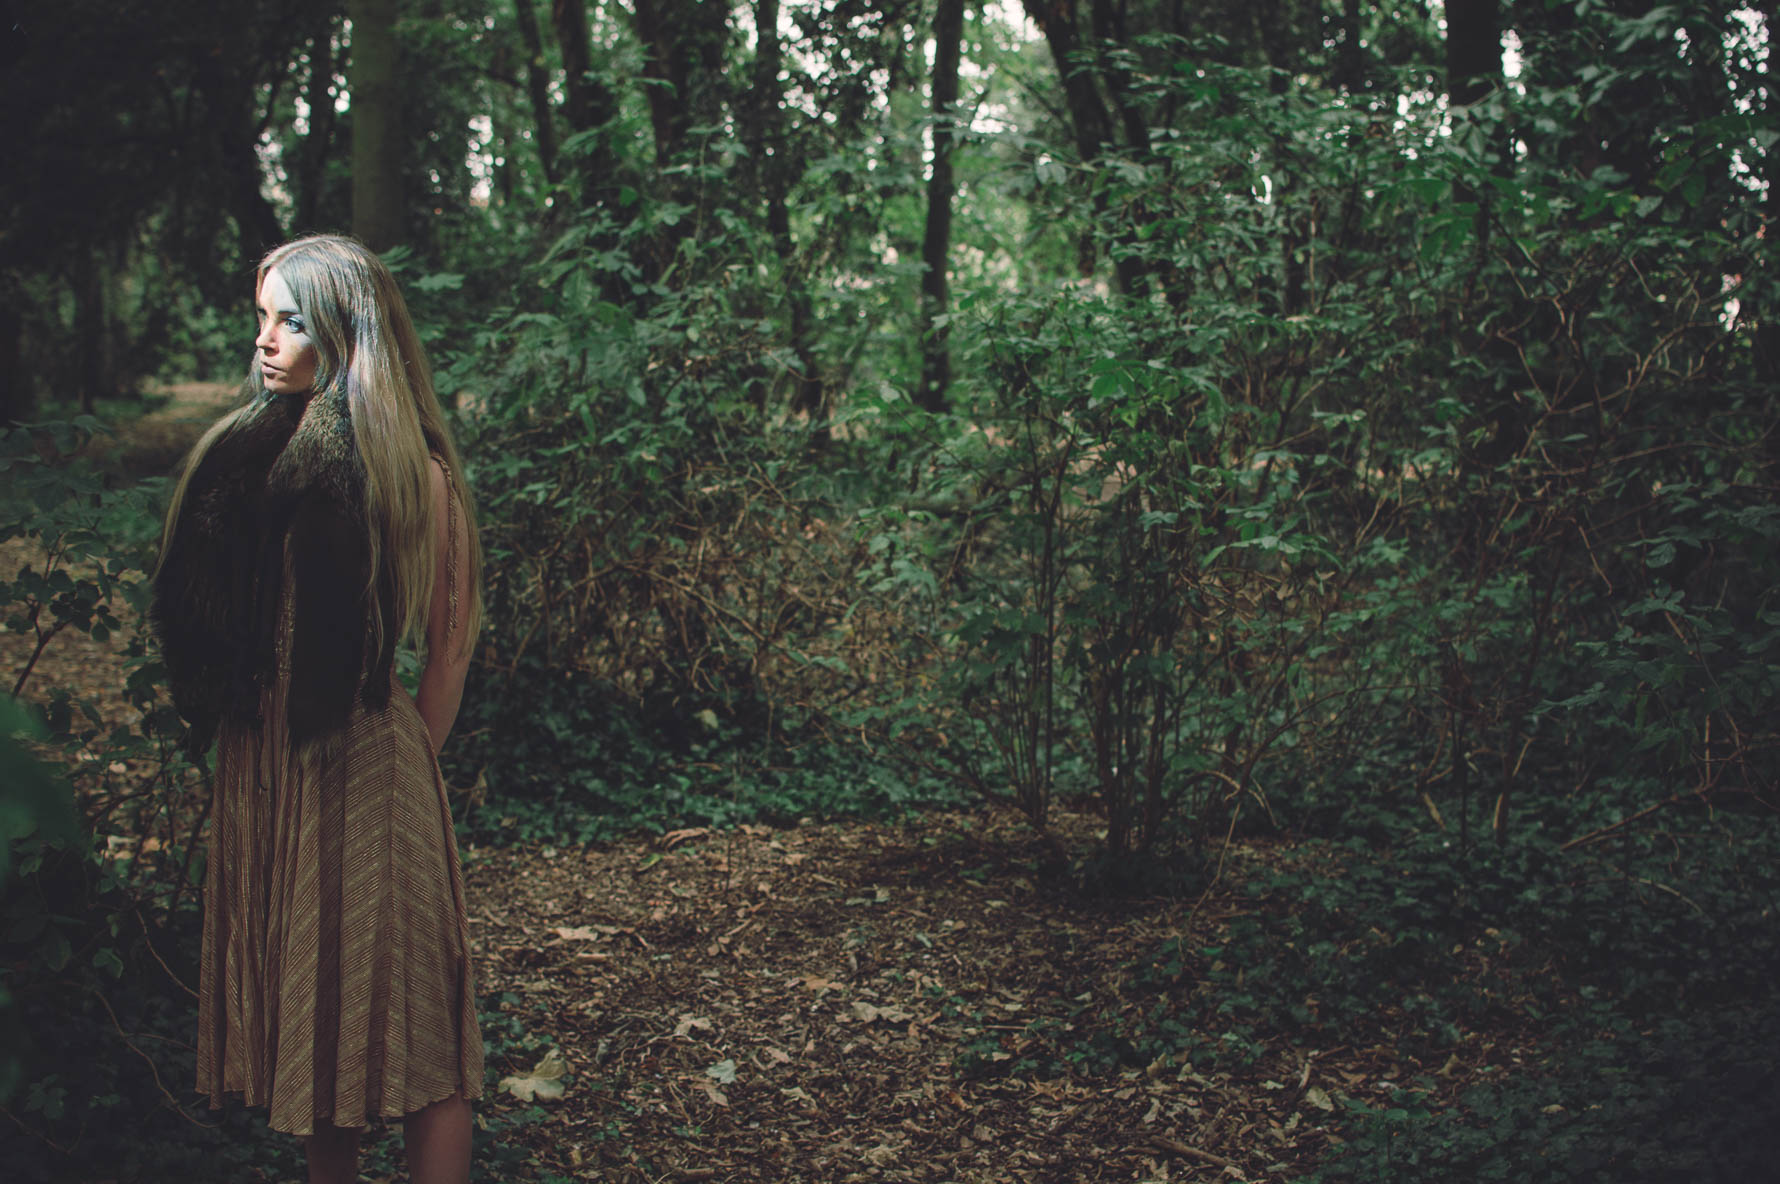
I am working on an idea for time lapses - I call them 'fashion lapses'.The idea really is just to create a scene with two 'speeds' the background and the subject. This is still very much work in progress but I thought I would share the concept.
My first attempts were flawed mainly due to flicker. I was using my lens in manual mode but there was a flicker caused by tiny variances in aperture. On this occasion I used an old fully manual lens which meant I could select the aperture I needed and the dreaded flicker was eliminated. I still have a long way to go but I am getting closer to the results that I want. What is painfully clear is that you are so reliant on the weather conditions - this process is going to take a lot of patience and early mornings!
Once again I used Triggertrap as my triggering system and this time I had the Phone trap which is a great way of supporting your phone during the time lapse process.

My model today was the lovely Shannon and she did pretty well at standing still - we even managed to find some time to take a few nice pictures of her. If you fancy yourself as a Fashion Lapse victim model please get in touch.


Triggertrap Mobile - Review
eye-fi Mobi - Review
Light Blaster - A quick test shoot
Light Blaster is a great little gadget that attaches to a strobe and converts it a really cool image projector. It uses a Canon lens or you can use a Nikon lens with an optional adapter. You can find all you need to know about Light Blaster at their web page. I do all sorts of photography and am always on the lookout for tools to aid creativity. I love off camera flash but the rules for me is that it needs to be quick simple and able to fit in your bag. I am always making my own gobos to create interesting shadows so Light Blaster looked like a perfect tool for me. Here is a little blog post I did a while ago about creating shadow.
The Light Blaster is really only limited by you imagination. The obvious application is to use it for creating amazing backgrounds. I used it recently on a fashion shoot and used it as my key light just to create interesting patterns and shapes on the model. This was literally just a few frames quickly taken during a busy shoot using a couple of the pre-made slides.
I have a commercial shoot next week where I will be using Light Blaster extensively and also have big plans for a really cool fashion shoot so watch this space.
light blaster-20140828462

light blaster-20140828486

light blaster-20140828589

light blaster-20140828593

light blaster-20140828598

light blaster-20140828619
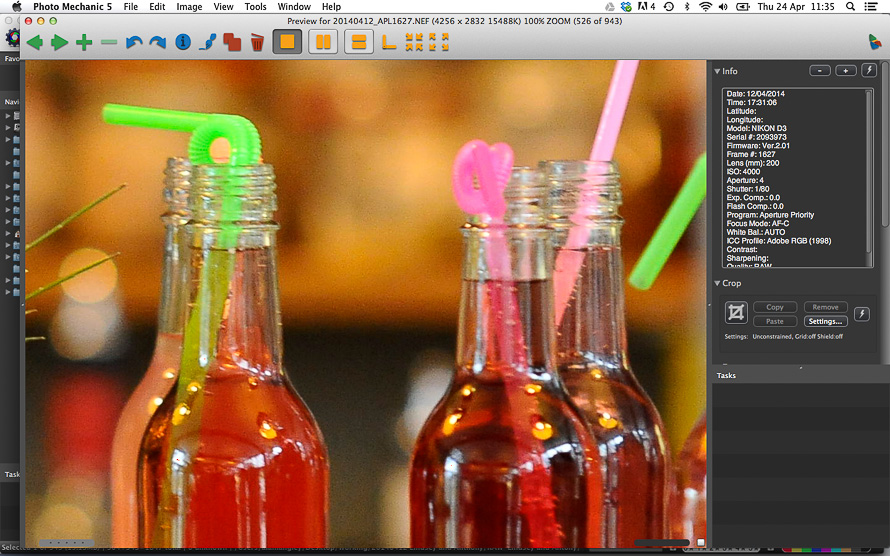
Photo Mechanic - Star Rating
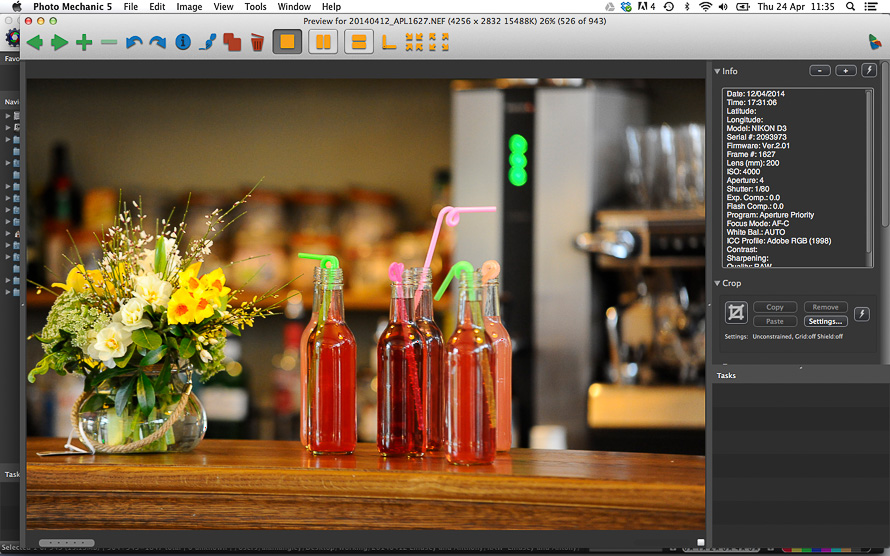
Photo Mechanic has transformed my photography workflow. It is now one of those applications that I just couldn't do without. I always use Photo Mechanic to ingest my images from memory cards and to do the initial sort whether it is wedding, commercial or press job. I do this cull or sort by looking at the individual images in the PM preview mode I then have my preferences set so that I can simply apply a star rating to each image just by hitting the number key for the rating I want to give the image. I also have PM set so that once I have rated an image it automatically steps to the next. This makes culling and sorting a very simple process. And let's face it we need to keep it as simple as possible! The star ratings then conveniently transfer into Lightroom - the next stage in my photography workflow.
I have been using this method for sometime but recently introduced another Windows machine to my workflow. I have spent ages trying to work out where to set single key star rating and auto move to next image.
Anyway to save me looking in the future this is where you do it.
PREFERENCES
Accessibility - Single key short cut for 0-5 Rating

Photo mechanic star rating
Preview - Automatically advance to next photo when rating is changed

Capture
Yongnuo YN560-III & RF-603 range test with Triggertrap Mobile
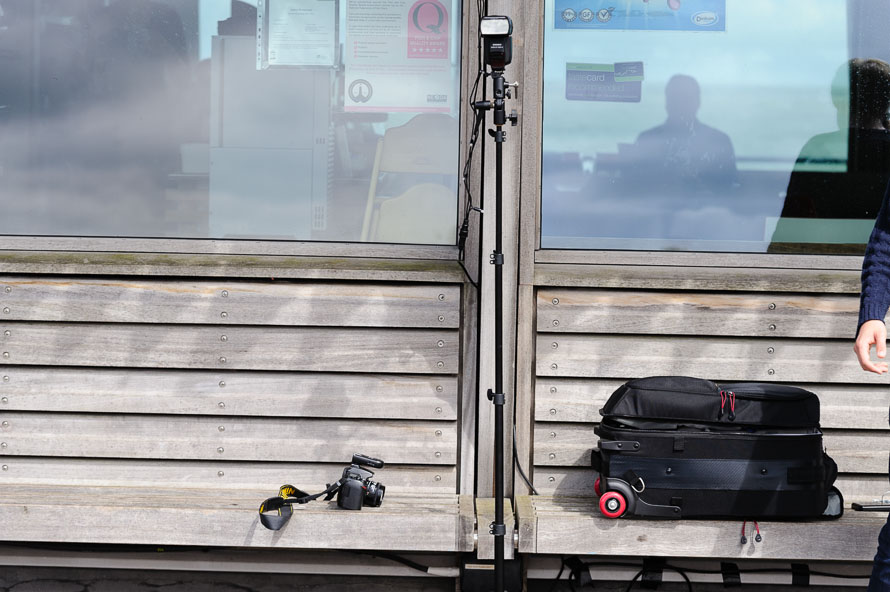
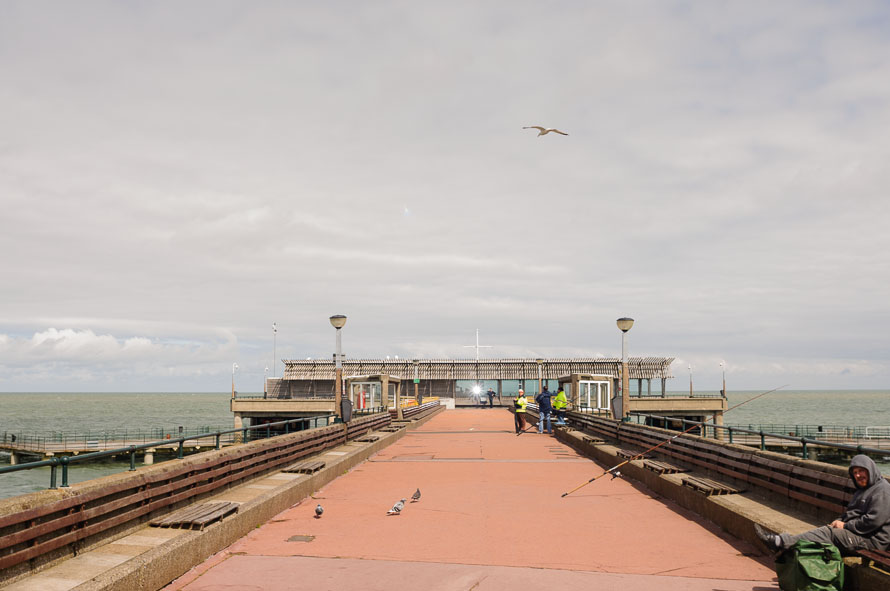
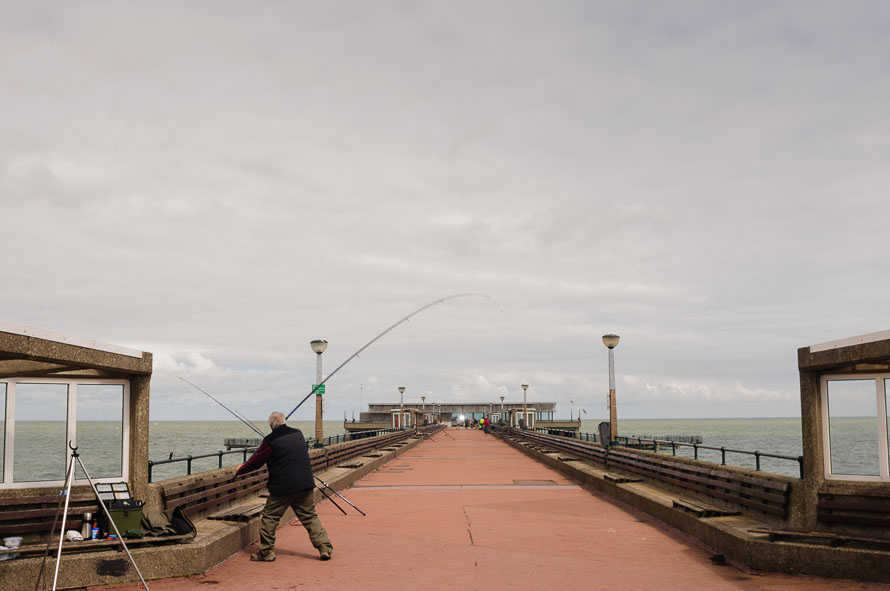
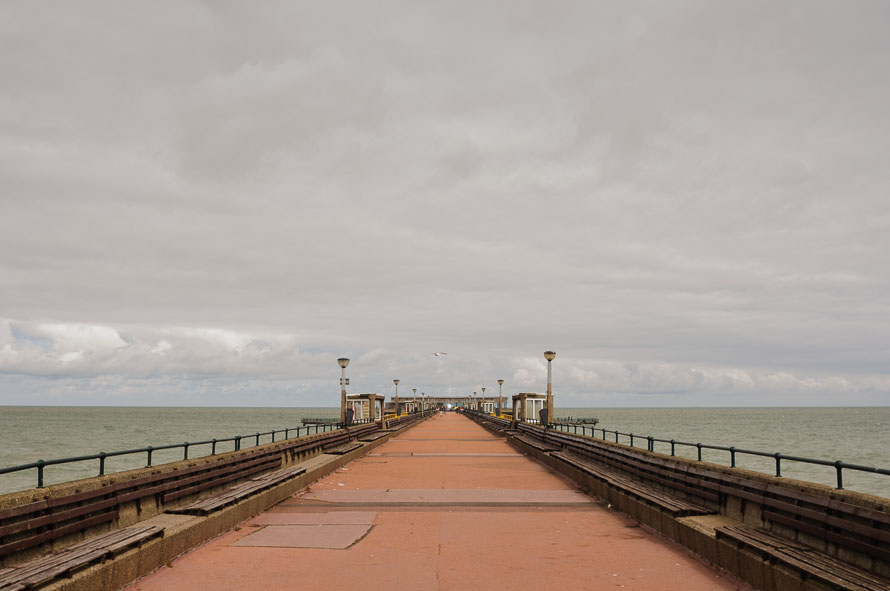
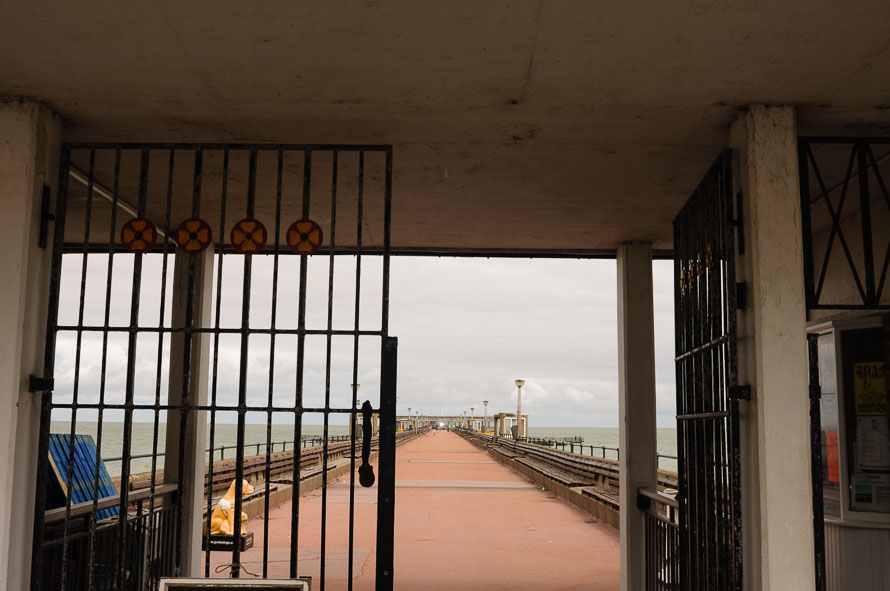
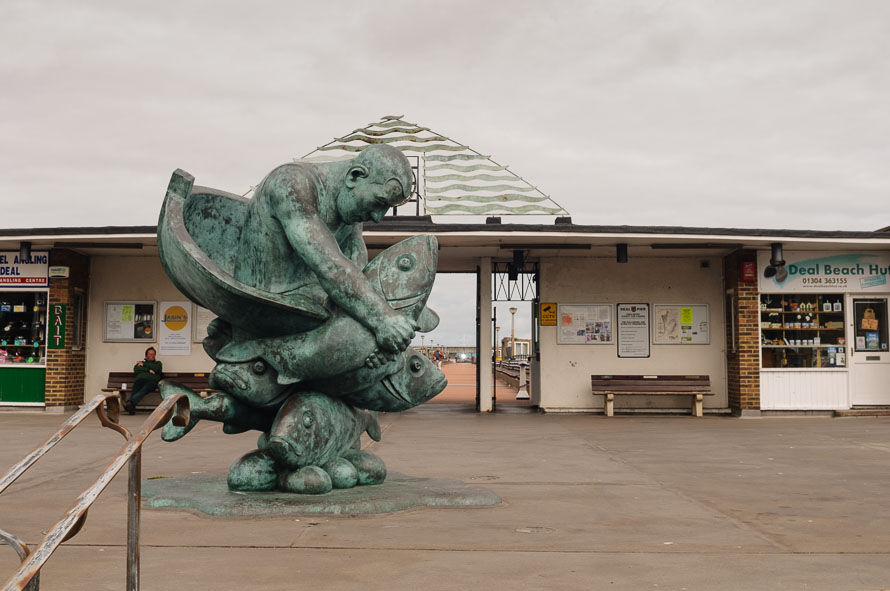
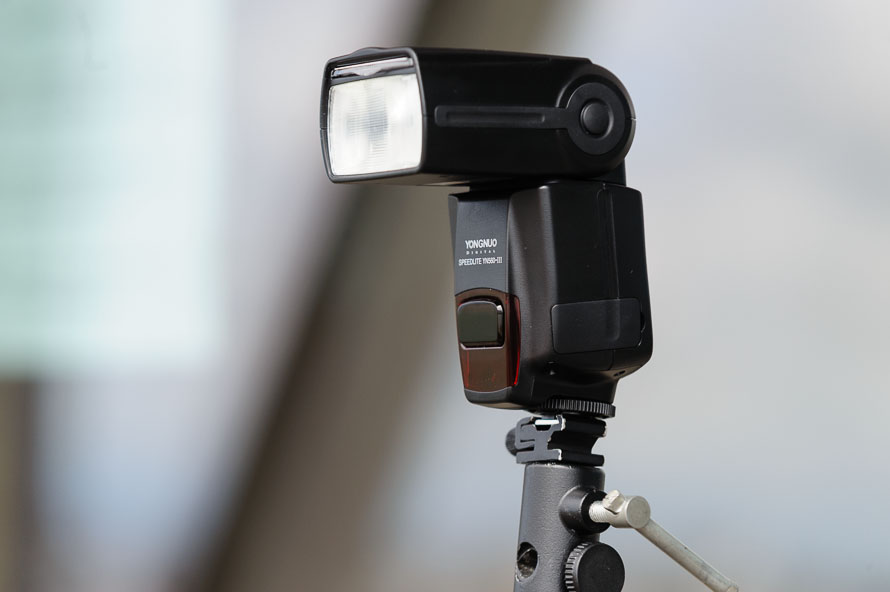
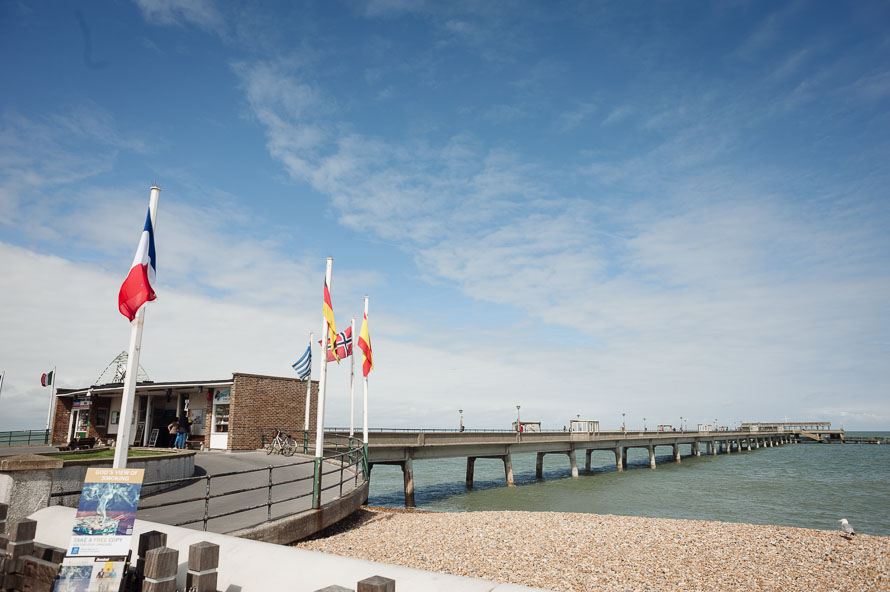
I have used used Elinchrom Skyports for the last four or five years as my flash triggers. Sadly they are now getting a bit tired and battered so it was time for a change. I looked at the various options and was attracted by the Yongnuo 560-III flashes with built in receivers paired to the RF-603 transmitters. Having receivers built in to my off camera flashes will save time, should remove a point of failure and basically should make my like easier. I am not interested in TTL for off camera flash so this seemed the perfect solution for me. Whilst shopping around for the best price I found someone selling a pair of used 560-iii's for the bargain price of £50. I ordered a set of 603 mk2 transmitters and am now ready to give the things a good test. The flashes are much better made than I was expecting - the build quality is good but what I am really interested in is the performance. It would be good to check the range and for this I needed somewhere long straight and level. Living near to the coast I decided on Deal pier as my test track - according to Wikipedia it is 311m long.
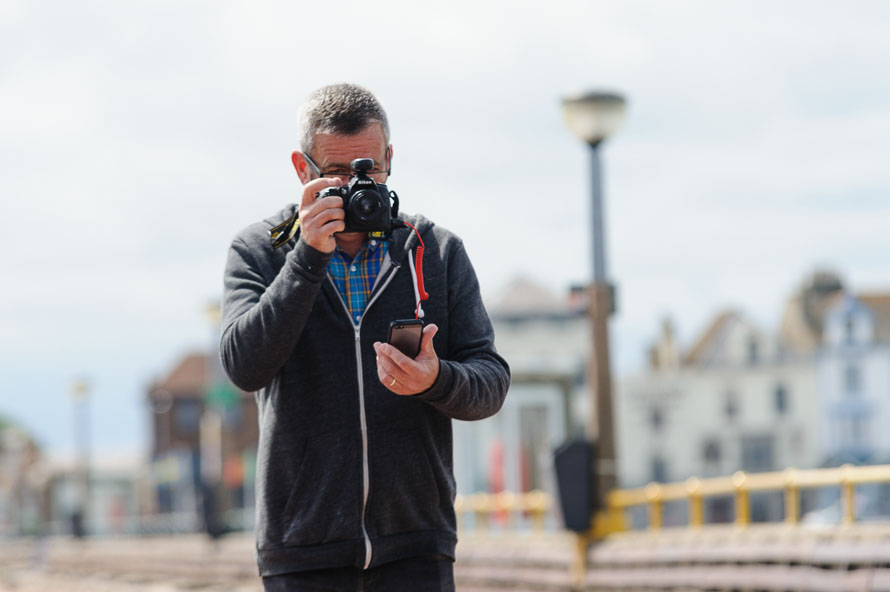
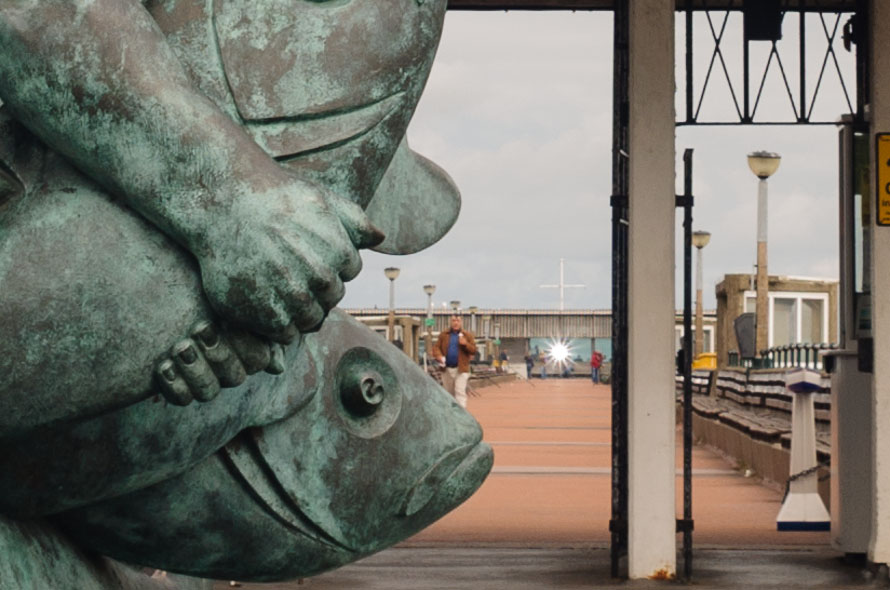
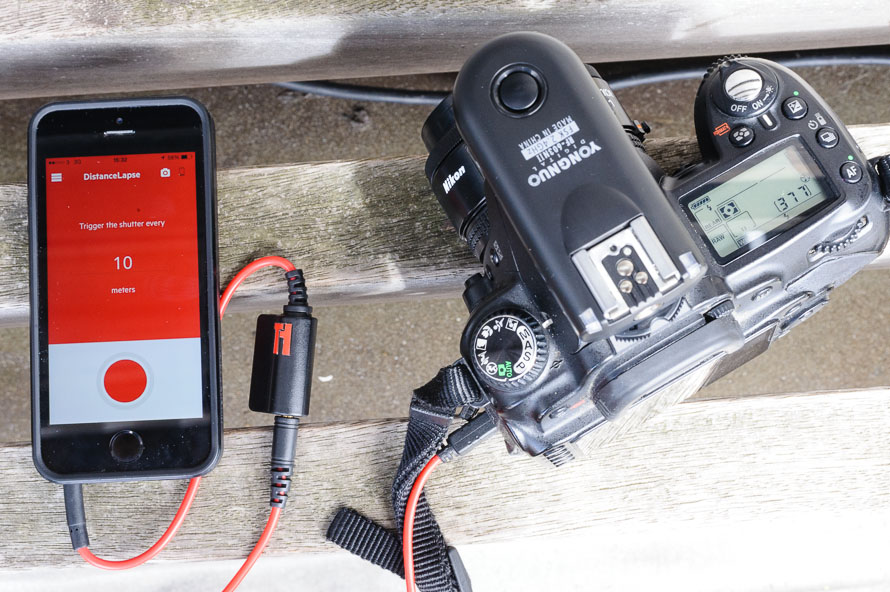
We set one of the 560's on a light stand at the sea end of the pier and decided to walk back towards the shore taking a picture every ten metres to check the range. To measure the distance we used Triggertrap - the dongle plugged into my phone and camera with the app running in Distance Lapse mode. This means that at every 10 metre interval the app would fire the camera. Triggertrap gives a nice graphical countdown so I could see exactly when the camera was going to fire.
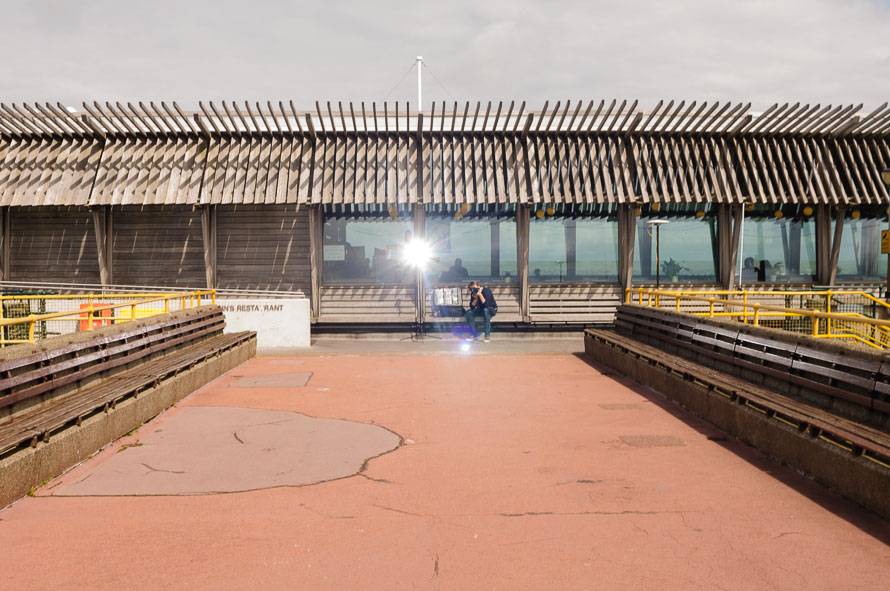
I set off down the pier expecting to get around halfway but at every interval the flash fired without a single miss.I was soon at the opposite end of the pier with 300m between the transmitter and receiver and had effectively run out of space. I walked through the gate and out as fas as the road and the set up still worked seamlessly.
I couldn't go any further so we went for an ice cream. It is back to the drawing board for the distance test - I need somewhere flat level and over 300m! Look out for the next instalment.
Instagram again
I am talking about Instagram again. You may remember my last exploits with Instagram where I effectively managed to break my account by trying to use it as a photographer. Since then I have moved on a little. I will be quite honest with you, I didn't really get the whole Instagram thing. This was something the kids did on their smartphones - not something for me. As a professional wedding photographer why would I want to take inferior 'snaps' on my phone then share them publicly for the world to see?
Things changed when my son passed on his old iPhone to me when he upgraded. There is a stage in life where things change, it is a bit of a milestone. This is where the kids have suddenly grown up and they hand things down to you!
So with my new toy I needed to find things to do with it so started using Instagram. I won't bore you with my previous experience you can read about it here if you are really procrastinating. I take pictures as my job, wedding pictures, portraits, fashion images and off course commercial work. I plan them, take them, edit them, deliver them, send out contracts, arrange releases, negotiate contracts. All of this goes with the photographer's job!
With my phone I take a picture, perhaps add a little filter, upload and move on. It is nothing like the day job it is a bit of fun and it is pretty much instant. Well it would be if my hashtag typing was a bit quicker and if I could see the little screen through my vari-focals.
I do see other professional photographers still effectively uploading their portfolio material or shots they have taken on a 'real' camera to Instagram but I think they are missing the fun and the charm of the application. There are loads of places for portfolio pictures and I don't think Instagram is one of them but each to their own.
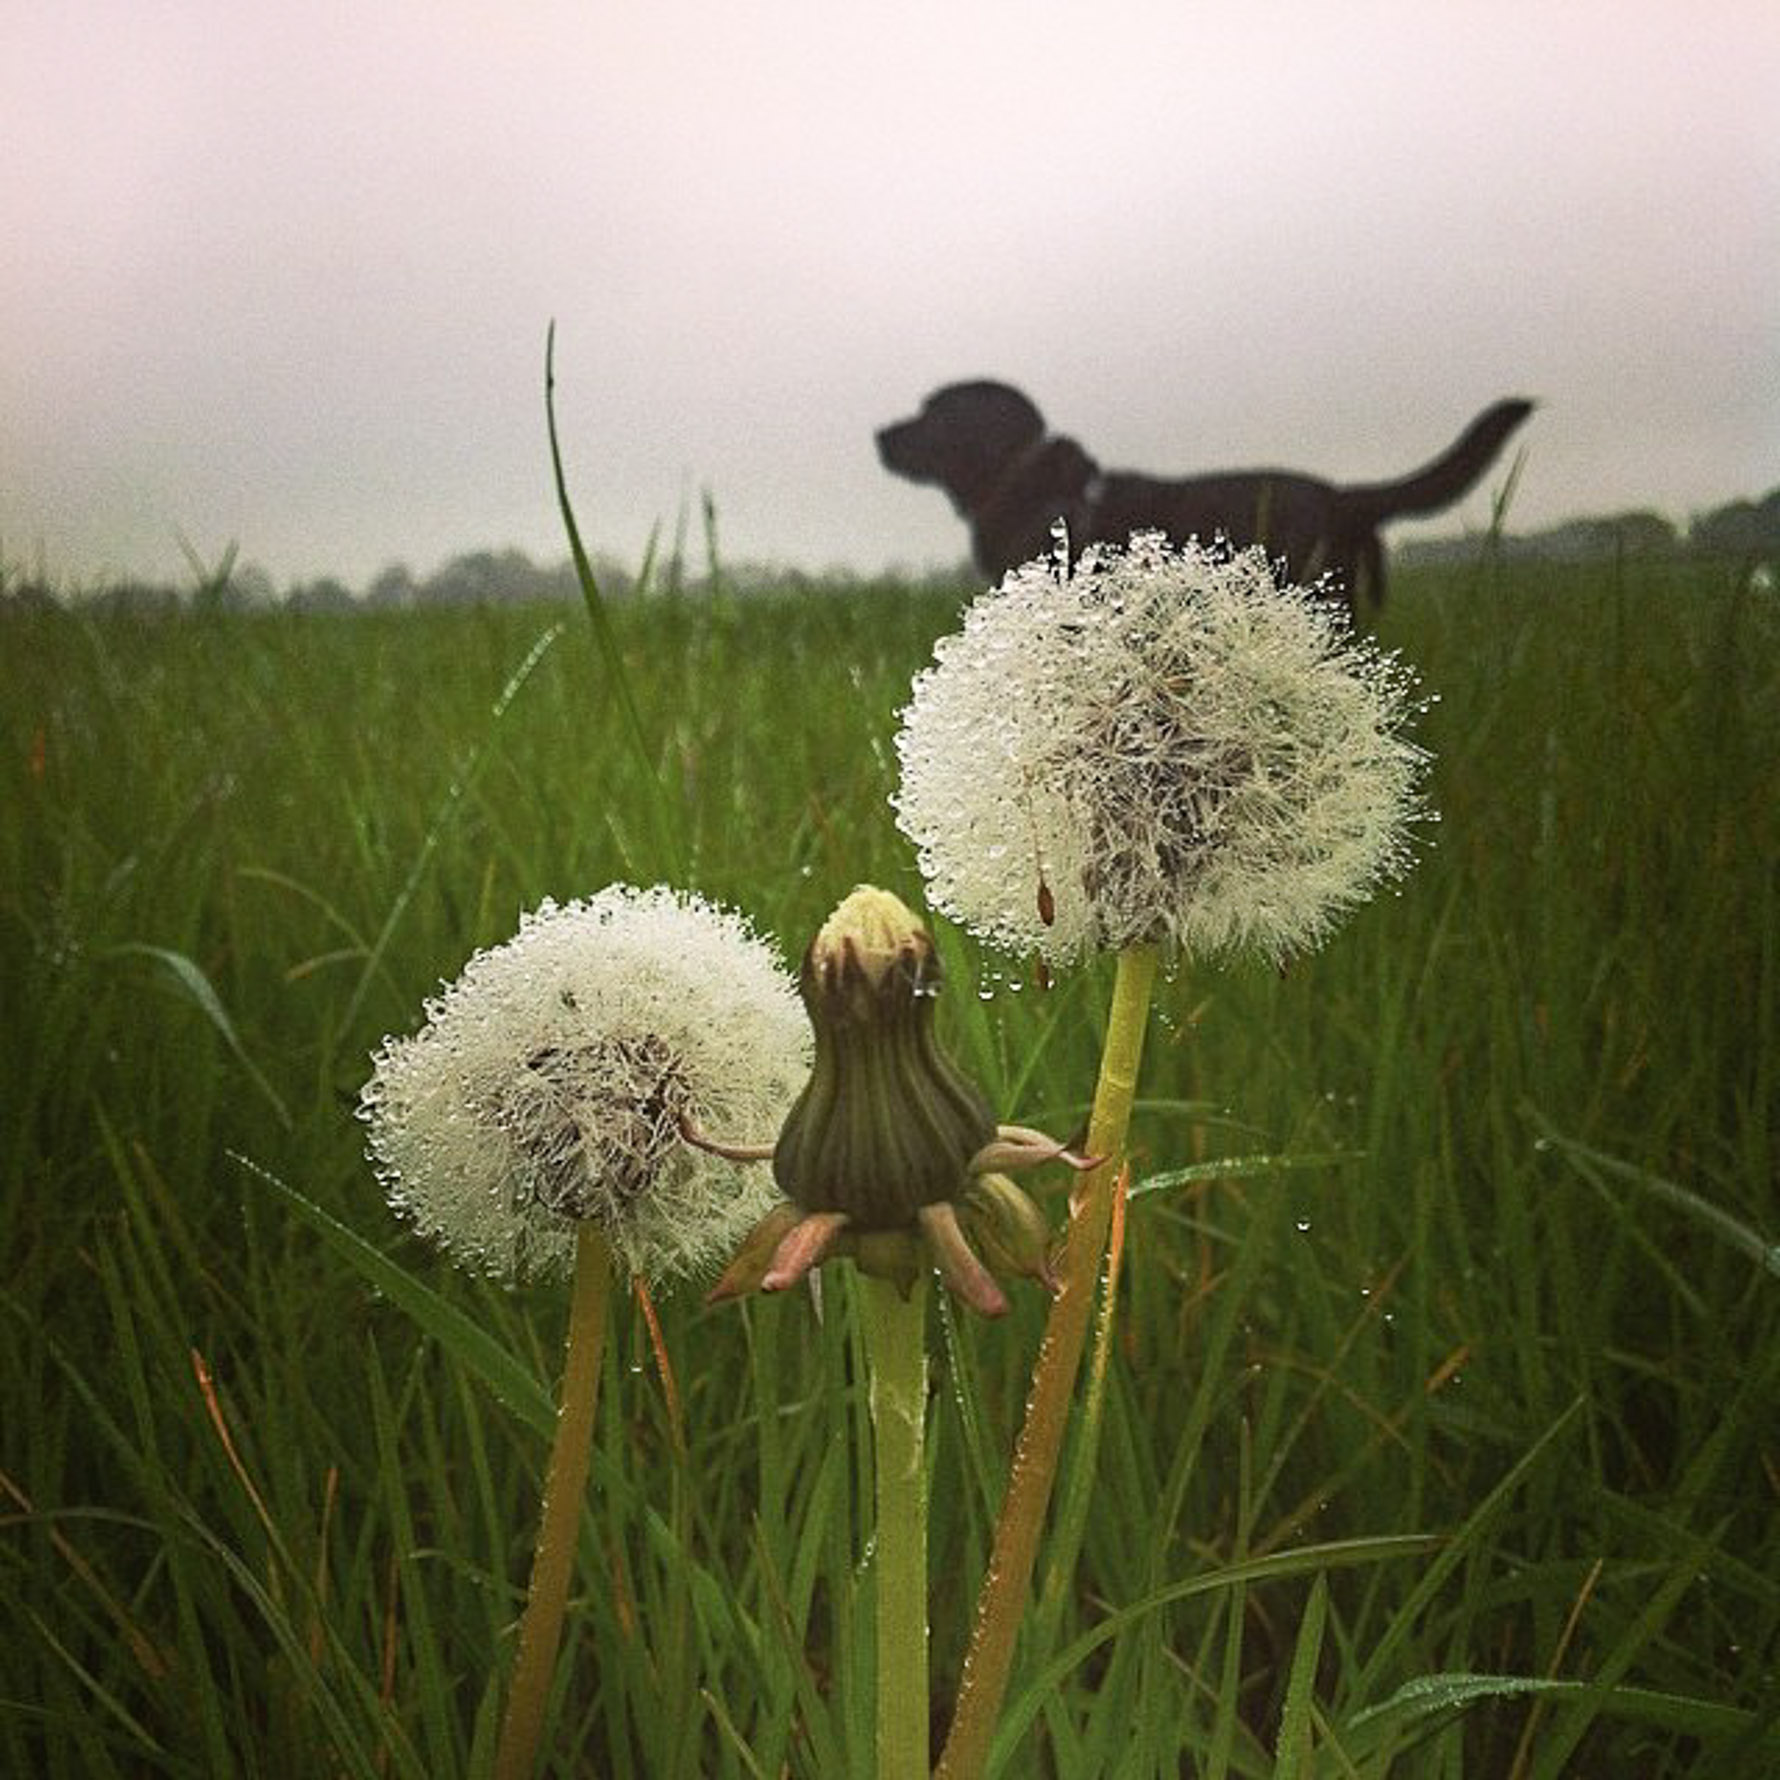
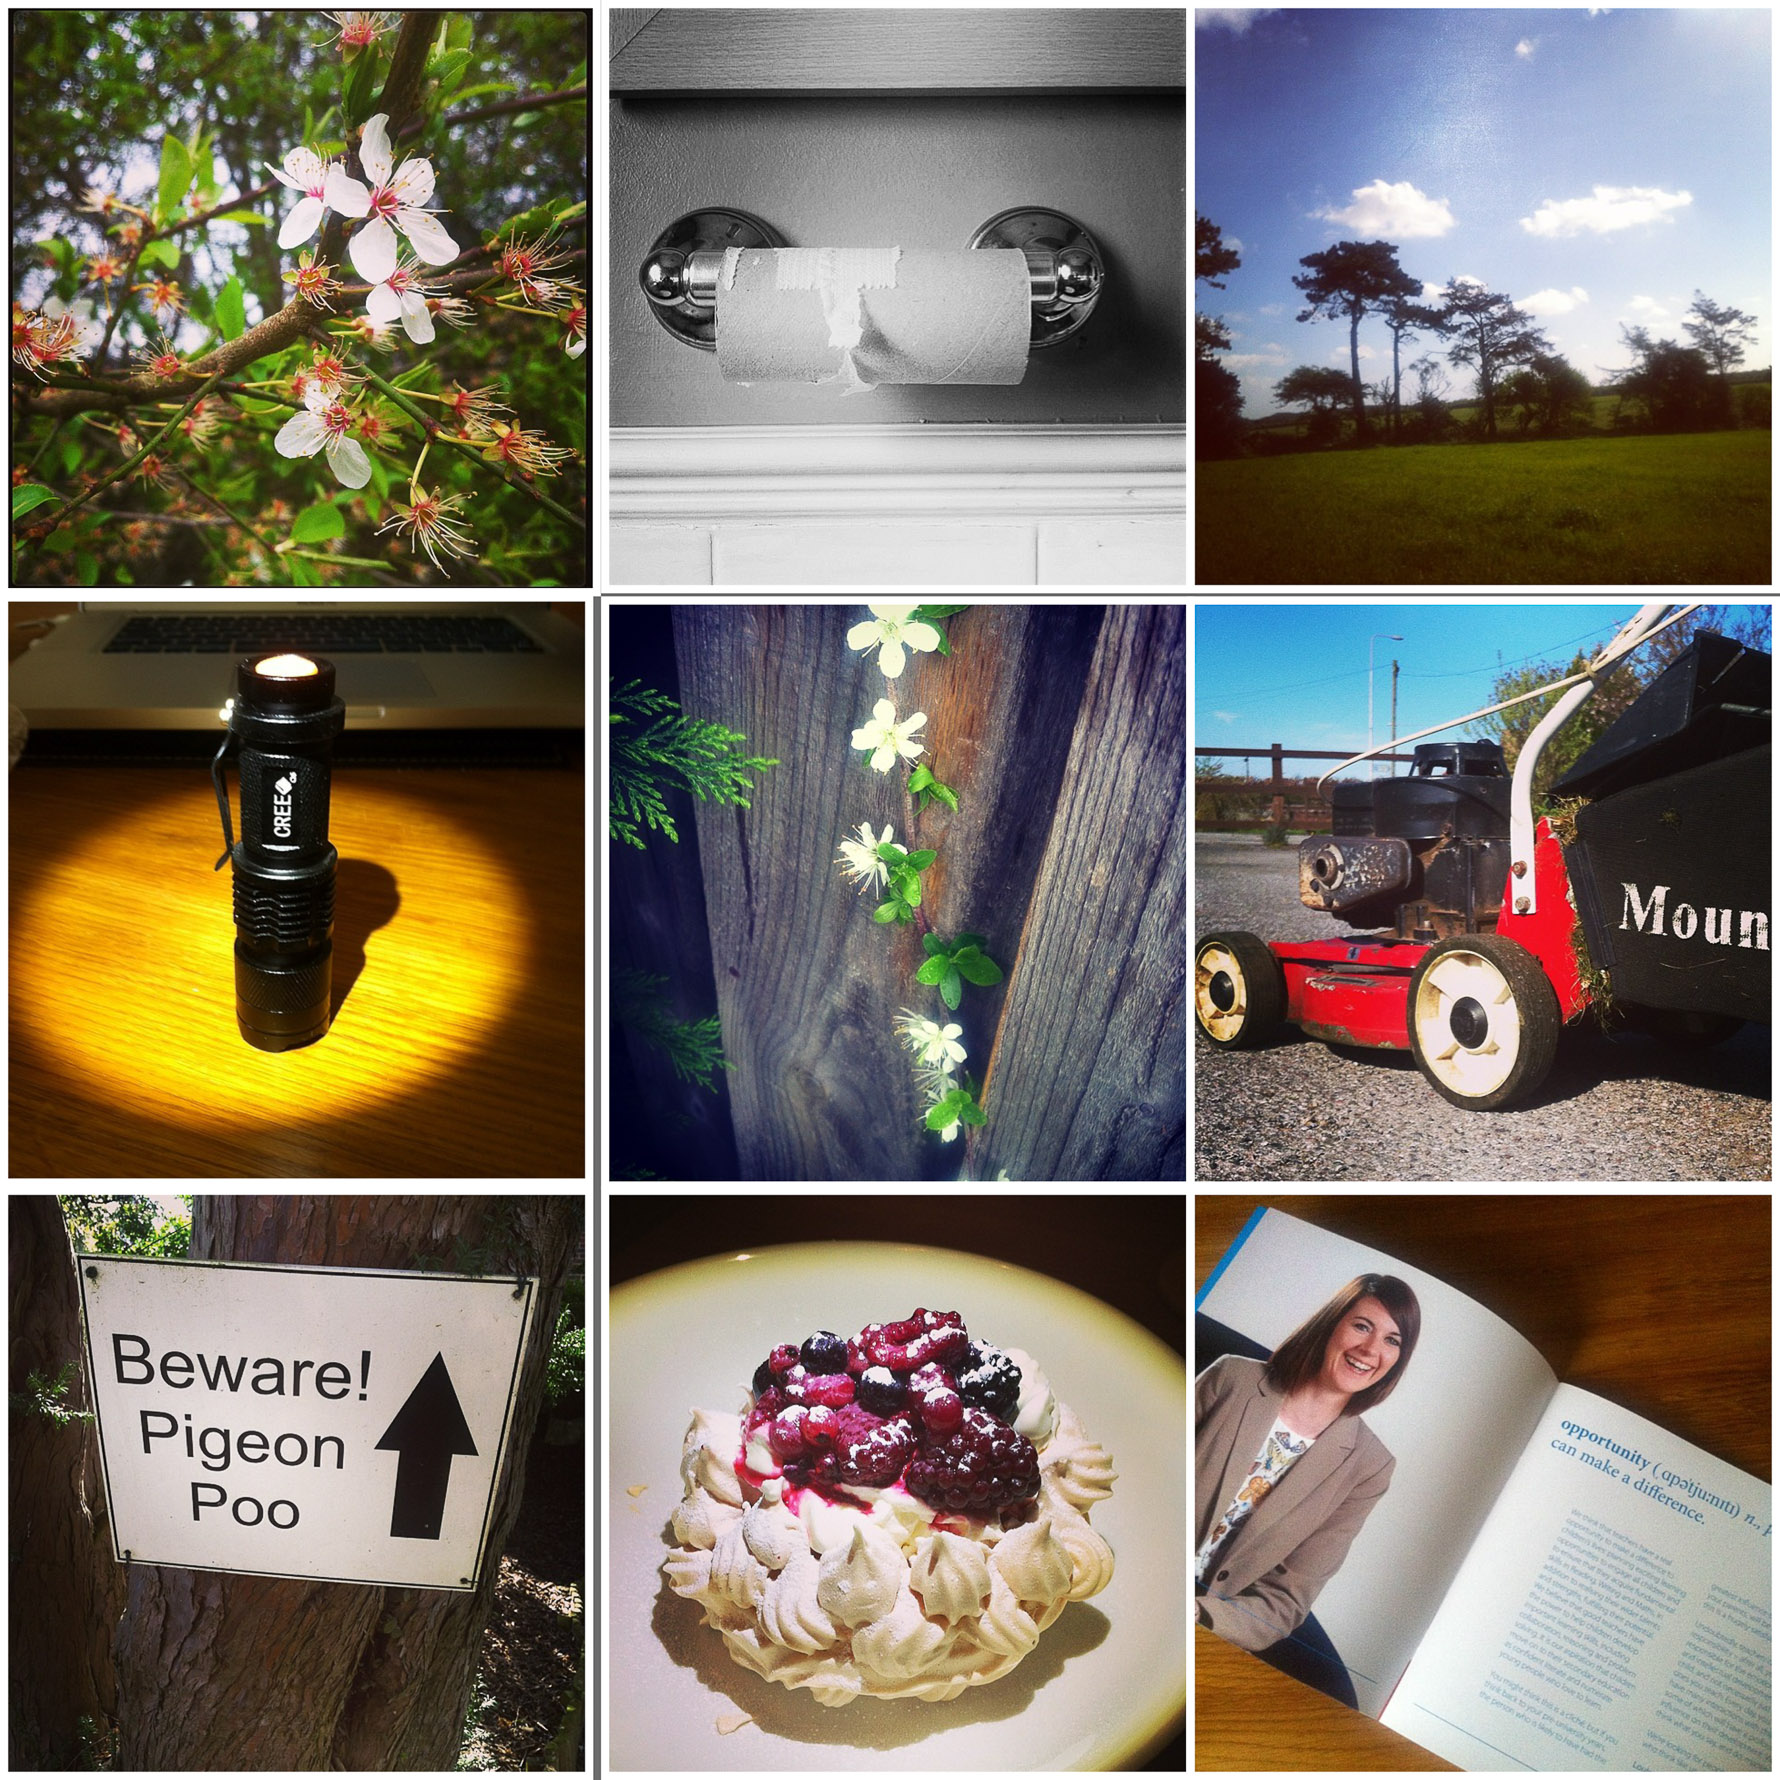
I am a convert, I love it, on my morning walk in the beautiful Kent countryside with the dogs I am always on the look out for simple creative photo opportunities. The social aspect is cool too I see pictures from friends and colleagues from all over the world. Little instant snapshots of their lives - if you don't follow me already I am alanlangleyphoto
#byefornow
Alan

Wedding Photography Workflow - Part Two
Wedding Photography Workflow - Part Two
At this point all of our RAW files have been transferred from our memory cards to our computer and importantly our back up drives. The original cards are also stashed away in a safe place ... just in case.
This was all covered in Wedding Photography Workflow - Part One
The next stage in the workflow is the dreaded culling. This is the process of looking at each and every image and deciding its fate. The way I work is that I sort 'in' so I select the images that I am going to keep rather than those I am going to delete.
Over time I have ended up rating images - or starring them. A rating of 4* means I think the customer would like to have the image. A rating of 5* means it is good enough for a slideshow, blog post or album.
Please note if I was going to design a new process I probably wouldn't work like this but this is where I am. I called this part of the process the 'dreaded cull' but to be honest it doesn't need to be. Using Photo Mechanic for this makes the process ridiculously quick and pain free. Even someone like me with attention span of a goldfish can work through a couple of thousand images in a very short space of time. The other advantage is that because it is so quick you will not have time to get distracted.
I double click the first image in Photo Mechanic which opens it in the Preview window. If I like the image I need to *star it - either a 4* or 5* as discussed earlier. To do this I hit CTRL and 4 or 5.
I have my PM set so that after rating an image it moves onto the next picture. You can set this in Preferences / Preview - select - 'automatically move to next image when rating is changed".

If I don't like the image I just click the right arrow to move on. At this stage it is useful to be able to check focus - I am a Nikon user so this isn't normally an issue but sometimes it is good to be able to quickly check. In PM hit the Z key and the image will zoom in hit Z again to return. Again, this is lightning fast - no waiting to render the image.
I rattle though all of the images until they have been rated or simply ignored. At this stage for me I am pretty much finished with PM and it is time to get the files into my editing tool of choice - Adobe Lightroom.
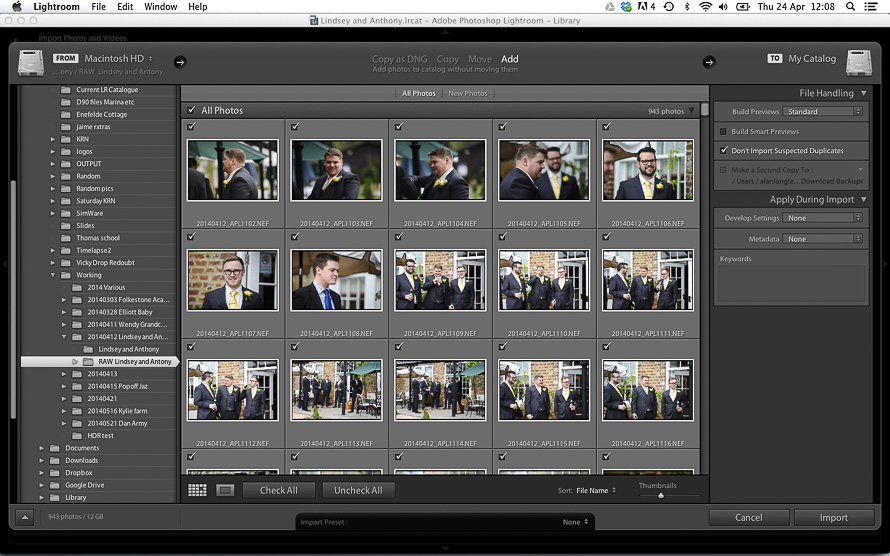
At this point you have a couple of choices you can either import ALL of your RAW files or just those that you have rated. I import all even though I will probably never use the 'rejects'.
In Lightroom I create a new catalogue in the same folder that contains my RAW images. I use a separate Lightroom for each job - something that I have been doing for a long time. The reason I do this is that when I back up I have backups of the complete 'job' RAW files and Lightroom Catalogue. It also means it is easy to open any of my archived jobs on another computer. How you deal with this is up to you there is no right or wrong way!!
So, in the Lightroom Library module I select Import and find the folder containing my RAW files and click import. I do not apply any import presets I also have Meta data set to none because I want to import the IPMC tags that we set in PM.
When the files import they bring with them their star rating. I then filter the files by those rated 4* and above and these are the ones that I edit.
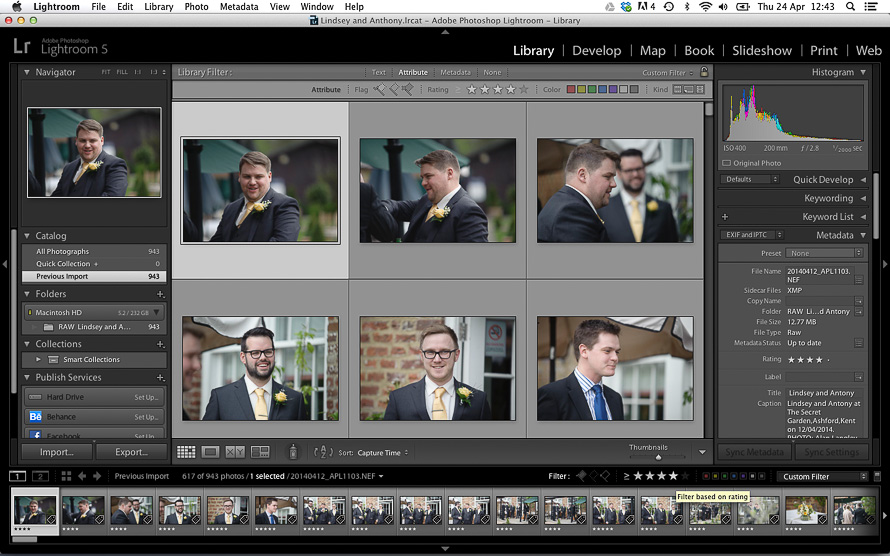
We will leave the actual editing part for Part Three
Alan Langley - Kent Wedding Photographer