Wedding Photography Workflow - Part Two
At this point all of our RAW files have been transferred from our memory cards to our computer and importantly our back up drives. The original cards are also stashed away in a safe place ... just in case.
This was all covered in Wedding Photography Workflow - Part One
The next stage in the workflow is the dreaded culling. This is the process of looking at each and every image and deciding its fate. The way I work is that I sort 'in' so I select the images that I am going to keep rather than those I am going to delete.
Over time I have ended up rating images - or starring them. A rating of 4* means I think the customer would like to have the image. A rating of 5* means it is good enough for a slideshow, blog post or album.
Please note if I was going to design a new process I probably wouldn't work like this but this is where I am. I called this part of the process the 'dreaded cull' but to be honest it doesn't need to be. Using Photo Mechanic for this makes the process ridiculously quick and pain free. Even someone like me with attention span of a goldfish can work through a couple of thousand images in a very short space of time. The other advantage is that because it is so quick you will not have time to get distracted.
I double click the first image in Photo Mechanic which opens it in the Preview window. If I like the image I need to *star it - either a 4* or 5* as discussed earlier. To do this I hit CTRL and 4 or 5.
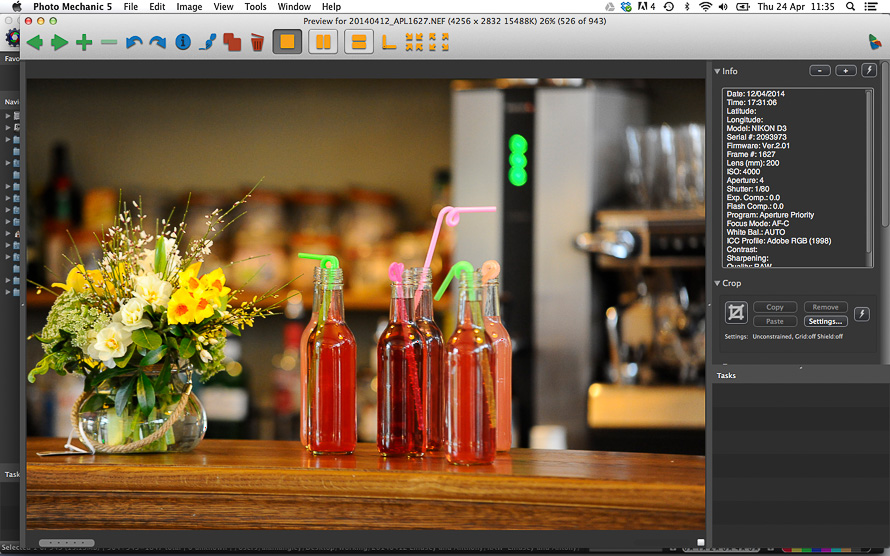
I have my PM set so that after rating an image it moves onto the next picture. You can set this in Preferences / Preview - select - 'automatically move to next image when rating is changed".

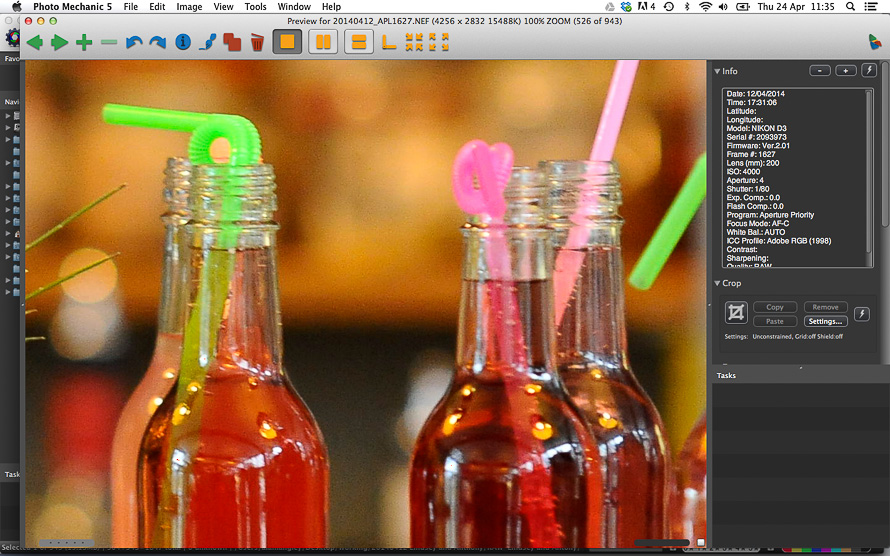
If I don't like the image I just click the right arrow to move on. At this stage it is useful to be able to check focus - I am a Nikon user so this isn't normally an issue but sometimes it is good to be able to quickly check. In PM hit the Z key and the image will zoom in hit Z again to return. Again, this is lightning fast - no waiting to render the image.
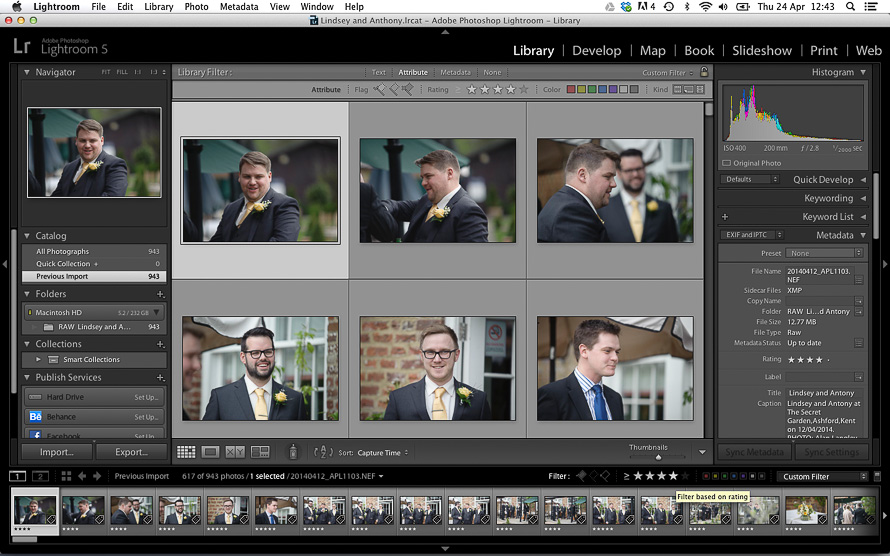
I rattle though all of the images until they have been rated or simply ignored. At this stage for me I am pretty much finished with PM and it is time to get the files into my editing tool of choice - Adobe Lightroom.
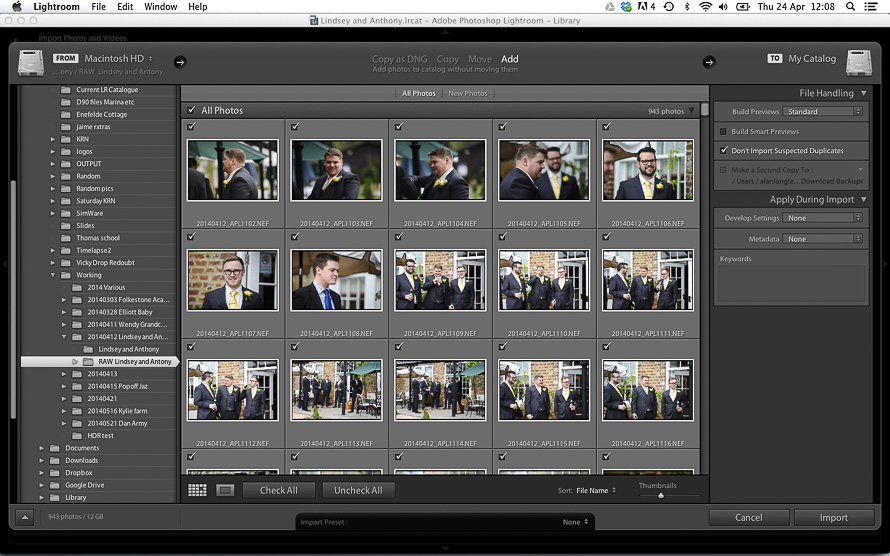
At this point you have a couple of choices you can either import ALL of your RAW files or just those that you have rated. I import all even though I will probably never use the 'rejects'.
In Lightroom I create a new catalogue in the same folder that contains my RAW images. I use a separate Lightroom for each job - something that I have been doing for a long time. The reason I do this is that when I back up I have backups of the complete 'job' RAW files and Lightroom Catalogue. It also means it is easy to open any of my archived jobs on another computer. How you deal with this is up to you there is no right or wrong way!!
So, in the Lightroom Library module I select Import and find the folder containing my RAW files and click import. I do not apply any import presets I also have Meta data set to none because I want to import the IPMC tags that we set in PM.
We will leave the actual editing part for Part Three
Alan Langley - Kent Wedding Photographer